
The Ultimate Greek Appetizer Recipe for Perfect Spanakopita
Alex the juice queen
Alex hunts for the best juice bars and presses. She rates every sip and saves her favorites in Savor.
This classic Greek appetizer recipe for Spanakopita is all about that shatteringly crisp, golden-brown phyllo giving way to a warm, savory filling of spinach...
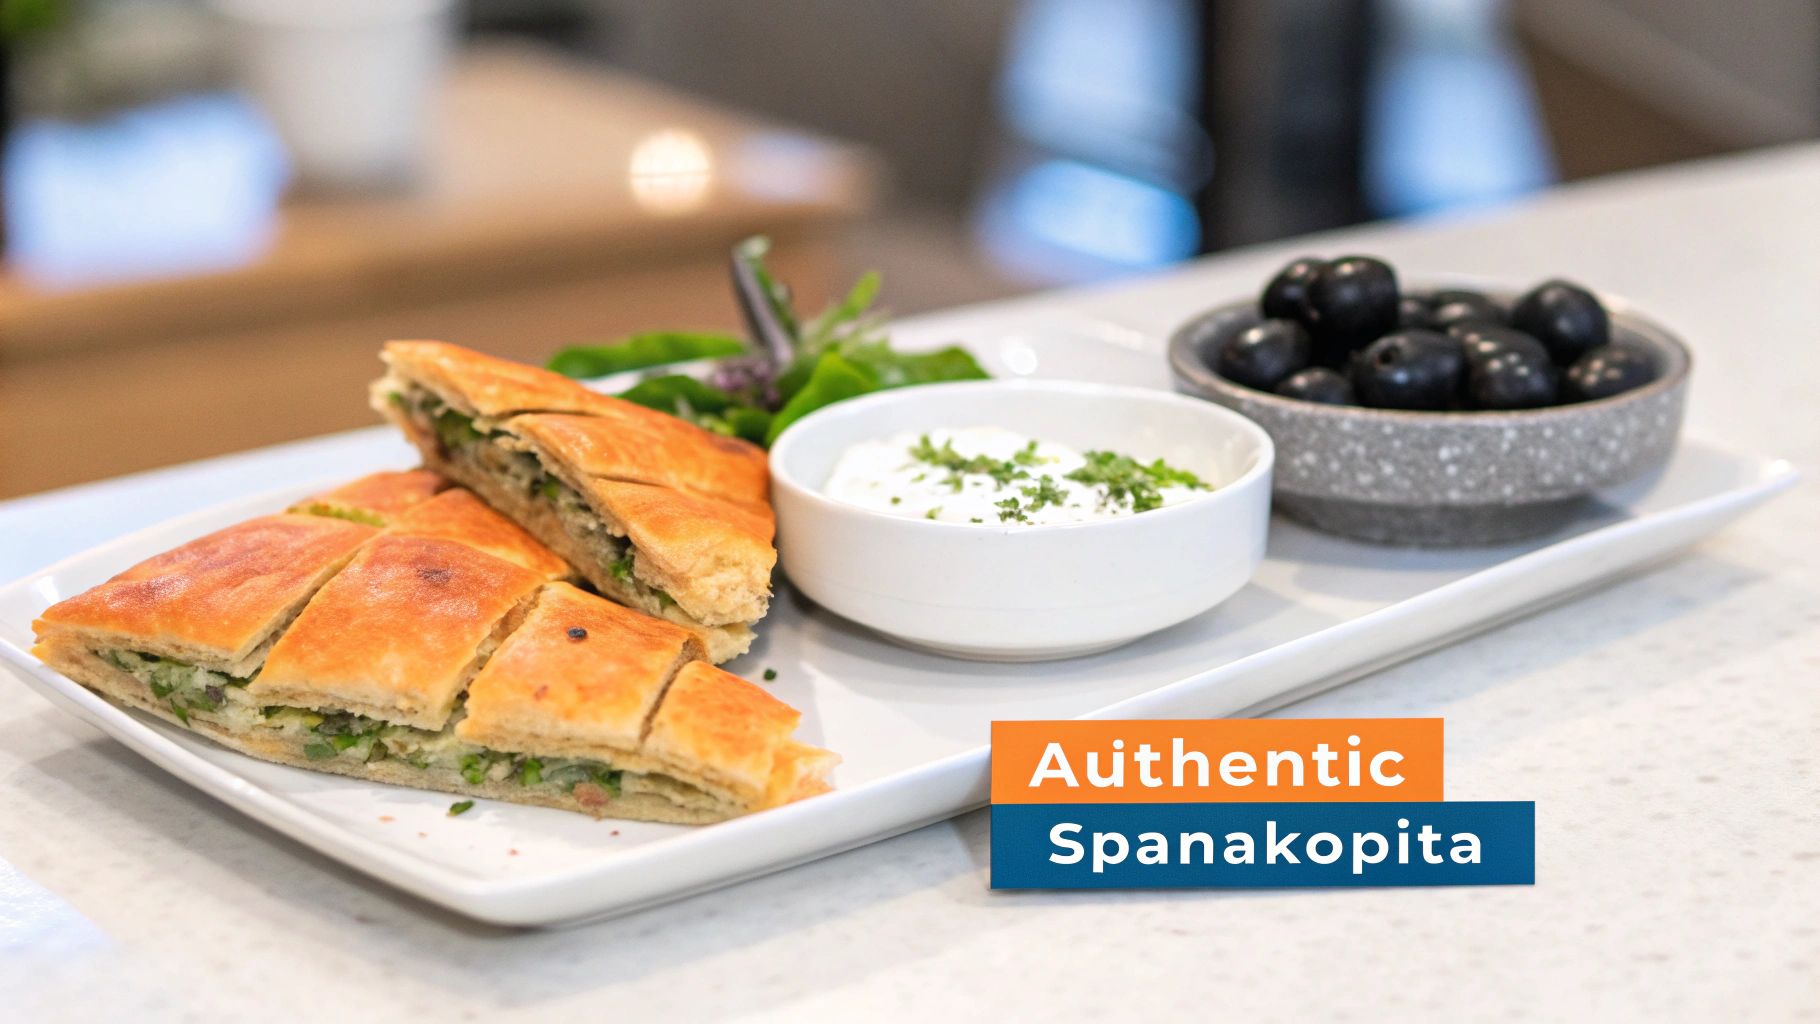
This classic Greek appetizer recipe for Spanakopita is all about that shatteringly crisp, golden-brown phyllo giving way to a warm, savory filling of spinach and feta. It’s one of those perfect make-ahead dishes for parties, but honestly, it’s just as good as a satisfying light meal on its own.
The absolute key to success? You have to squeeze the spinach completely dry. I can't stress this enough. It's the one step that guarantees a flaky, never soggy, result.
A Timeless Taste of Greek Tradition
Spanakopita, the iconic Greek spinach and feta pie, is so much more than just an appetizer—it’s a cornerstone of the culinary culture. Close your eyes and imagine sitting at a seaside taverna, sharing a platter of meze with friends as the sun sets. That’s the feeling Spanakopita brings right into your kitchen.
It’s a dish that truly embodies the spirit of shared meals and celebrations, making it a perfect starting point if you’re exploring authentic Greek cooking. We’ll walk you through crafting a perfectly balanced filling and mastering the art of handling delicate phyllo dough. The result is a dish with a satisfying crunch that opens up to a warm, savory, and slightly tangy center. It’s a food memory just waiting to happen.
From Ancient Roots to Modern Kitchens
The techniques behind this beloved dish have a surprisingly deep history. The idea of layering dough has roots in Byzantine culinary practices, with a 14th-century cookbook recording recipes that feel like a clear blueprint for the modern Spanakopita we know today.
Making this appetizer is a chance to connect with a long-standing tradition. Every layer of buttery phyllo and every bite of the herby, cheesy filling tells a story. This recipe isn't just about following steps; it's about creating a moment worth remembering.
Track Your Tastes: After you pull your Spanakopita from the oven, don't let the memory fade. Snap a photo and save it in your Savor food diary. Rate its crispiness and the flavor balance of the filling. Over time, you can compare this batch to future ones, perfecting your technique with each bake.
Why This Recipe Works
This guide zeroes in on the critical details that make a huge difference in the final product. We'll show you how to sidestep common pitfalls like a watery filling or brittle dough.
Here’s what makes this approach successful:
- Moisture Control: We put a heavy emphasis on squeezing the spinach bone-dry. This is the non-negotiable step that guarantees a crisp crust every single time.
- Flavor Balance: The combination of salty feta, bright herbs like dill and parsley, and savory aromatics creates a filling that is rich but never heavy.
- Phyllo Technique: Clear, simple instructions help demystify working with phyllo, making the entire process feel approachable for any home cook.
By the end, you'll have more than just a recipe; you’ll have the confidence to create an authentic Greek appetizer that is sure to impress. Whether you’re an experienced cook or new to Greek food, this Spanakopita is a fantastic addition to your culinary repertoire. For more ideas, you can always explore our guide to delicious foods from around the world.
Choosing Your Authentic Ingredients
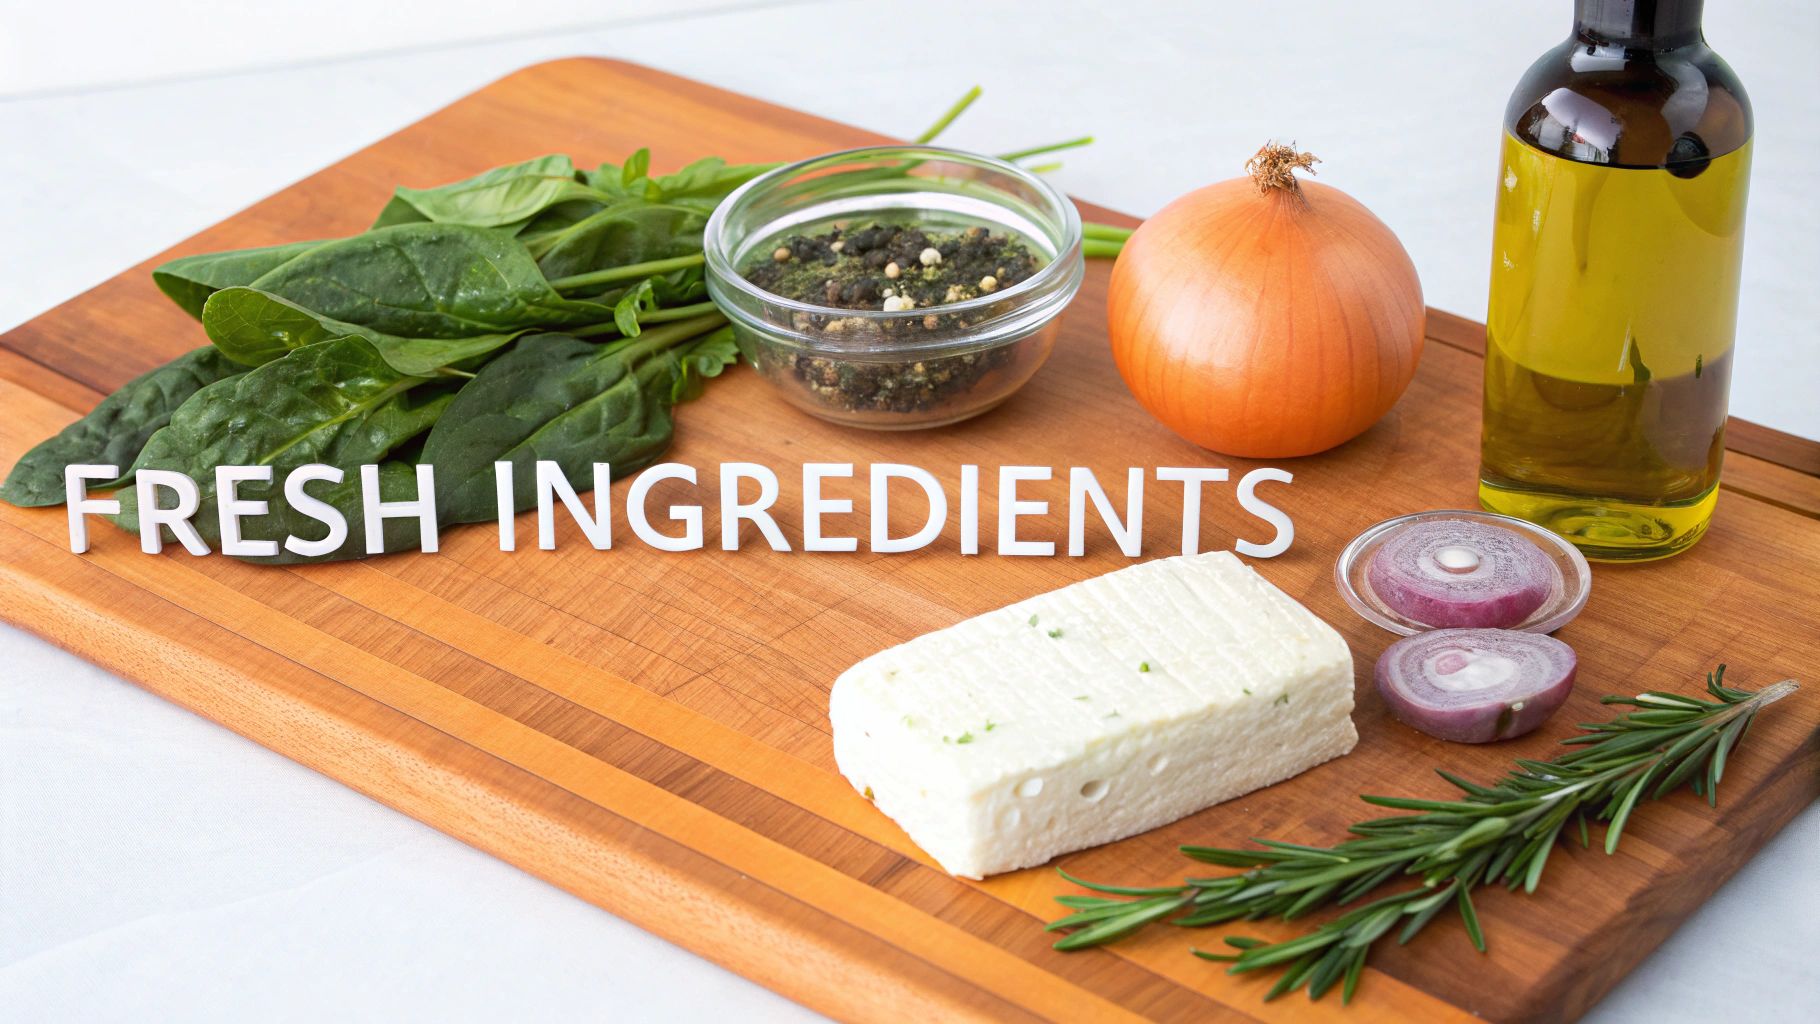
The secret to a truly unforgettable Spanakopita isn’t some complicated, secret technique. It's the ingredients. This is where a good recipe transforms into a great one—by understanding why each component is so crucial to building that perfect, authentic flavor.
From the tangy, salty bite of real feta to the bright pop of fresh herbs, every element plays a specific role. Let’s break down exactly what you'll need to create a filling that tastes like it came straight from a Greek kitchen.
The Foundation: Feta and Spinach
Feta cheese is the absolute heart and soul of Spanakopita. For the best possible flavor and texture, always buy a block of feta stored in brine. The pre-crumbled stuff is often dry and lacks that creamy, tangy punch that makes this appetizer so addictive. A quality sheep's milk feta will give you the most authentic taste.
If you're curious about what makes it so unique, you can explore the key differences between feta and goat cheese to get a better sense of its distinct profile.
Next up is the spinach. The fresh vs. frozen debate is a common one, but both work beautifully if you treat them right. If you go with fresh, you'll need a lot of it (about 1.5 pounds) and you'll have to blanch it first. Frozen spinach is a fantastic, practical shortcut, but the preparation is key. You must thaw it completely and then squeeze out every single drop of water. This is the number one defense against a watery filling and the dreaded soggy Spanakopita.
Aromatic and Herbal Enhancements
The supporting cast of ingredients is just as important for creating that balanced, layered flavor. They add depth and brightness that cut right through the richness of the cheese and pastry.
- Herbs: Fresh dill and parsley are completely non-negotiable. They provide that essential brightness and classic Greek flavor that dried herbs just can't come close to replicating.
- Onions: I like to use yellow or sweet onions, finely diced and sautéed until they're soft and sweet. This builds a beautiful savory base for the filling. Some recipes also call for green onions or scallions, which add a milder, fresher bite.
- Olive Oil: A good quality extra-virgin olive oil is perfect for sautéing the onions and adds its own subtle, fruity note to the mix.
Binding It All Together
To create a cohesive filling that holds its shape beautifully when baked, you'll need a few final components. An egg acts as the binder, bringing the spinach and feta together into a rich, almost custard-like mixture once it's cooked. A little hint of nutmeg is a very traditional addition that really enhances the earthy flavor of the spinach.
Finally, you’ll need phyllo dough and a fat for brushing between the layers. As you gather everything, it's worth understanding the difference between butter and ghee, as both can be used to create that wonderfully crisp, golden texture.
To make things even clearer, here’s a quick guide to help you make the best choices at the store.
Ingredient Guide for Authentic Spanakopita
This table breaks down the most important components, explaining why certain choices make all the difference in achieving a truly authentic result.
| Ingredient | Recommended Choice | Why It Matters | Common Substitution |
|---|---|---|---|
| Cheese | Block sheep's milk feta in brine | Offers a superior creamy texture and a tangy, salty flavor that is the signature of Spanakopita. | Cow's milk feta or pre-crumbled feta (though it can be dry). |
| Spinach | Frozen, chopped spinach (thawed & squeezed dry) | The most practical choice. Squeezing it bone-dry is critical to preventing a soggy filling. | 1.5 lbs of fresh spinach, blanched and squeezed dry. |
| Herbs | Fresh dill and fresh parsley | Dried herbs lack the bright, aromatic punch needed to cut through the richness of the cheese. | Not recommended, but a pinch of dried dill can work in an emergency. |
| Fat for Phyllo | Melted unsalted butter or ghee | Creates the crispy, flaky, golden-brown layers that make this appetizer so irresistible. | A high-quality olive oil can also be used for a different flavor. |
Ultimately, taking a few extra minutes to select high-quality ingredients is the most important step in this entire recipe. It's what will make your Spanakopita taste genuinely delicious.
Crafting the Perfect Spanakopita Filling
A truly great Spanakopita is all about the filling. Sure, the crispy, crackly phyllo gets a lot of the glory, but the rich, savory spinach and cheese mixture inside is what makes this dish so unforgettable. This is where you build the layers of flavor that will have everyone coming back for seconds.
It all starts with creating a deep, savory base. When you gently sauté finely diced yellow onion in good olive oil, you’re not just cooking it—you’re coaxing out its natural sweetness until it’s soft and translucent. Tossing in the minced garlic for just the last 30 seconds or so releases its fragrance without any risk of it turning bitter. This simple step sets the stage for an aromatic foundation.
The Most Important Step: Squeezing the Spinach
If there's only one piece of advice for perfect Spanakopita, this is it. Excess moisture is the number one enemy of a great filling and the primary cause of a soggy crust. It doesn't matter if you're using fresh or frozen spinach; you absolutely must squeeze every last drop of water out of it.
Here are a few tried-and-true methods to get your spinach bone-dry:
- Use Your Hands: The go-to method. Just grab small handfuls of the cooled spinach and squeeze firmly over the sink. Keep going until you can't get any more liquid out.
- Try a Potato Ricer: This kitchen tool is surprisingly effective. It applies even pressure and wrings out an incredible amount of water with minimal effort.
- Wrap it in Cheesecloth: Place the spinach in the middle of a clean cheesecloth or tea towel, gather the ends, and twist as hard as you can until it stops dripping.
This single action will dramatically improve the final texture of your dish, guaranteeing a filling that’s dense and flavorful, not watery.
Achieving the Perfect Flavor and Texture
Once your onions and garlic are fragrant and your spinach is perfectly dry, it's time to bring it all together. For crumbling the authentic Feta cheese, a good cheese grater helps achieve a uniform texture that mixes in beautifully. Combine the feta with the spinach, aromatics, fresh dill, parsley, and a single egg to bind everything.
Here’s a critical tip that many recipes overlook: let the cooked onion and spinach mixture cool down completely before you add the egg and cheese. If the mixture is still warm, the feta can get a little oily and the egg might scramble slightly, leading to a grainy texture. A little patience here pays off with a much creamier, more cohesive filling.
Rate like a critic: Before you start assembling, taste the filling. Does it need a bit more salt? A touch more pepper or nutmeg? This is your last chance to get the flavor exactly right. Make a quick note in your Savor app about any seasoning adjustments—that’s how you’ll perfect your personal recipe over time.
Finally, season generously with salt, pepper, and a traditional pinch of nutmeg. The nutmeg adds a subtle warmth that complements the earthiness of the spinach. Mix everything until it's just combined; you don't want to overdo it and make the filling tough. This well-seasoned, perfectly balanced mixture is the true heart of an amazing Spanakopita.
Mastering the Art of Phyllo Dough
Let’s be honest, phyllo dough has a reputation for being difficult. But after making countless Greek pies, I can tell you it’s far more forgiving than you might think. This is where the magic happens, turning a simple filling into that classic appetizer with the shatteringly crisp texture we all crave. The key isn’t about being perfect; it’s about being prepared and working efficiently.
Before you unroll the dough, get your station set up. Have your melted butter or olive oil in a small bowl with a pastry brush ready to go. Make sure your filling is completely cool and within arm's reach. The moment you open that phyllo package, the clock starts ticking before the paper-thin sheets dry out.
Keeping Your Dough Workable
The single most important trick to handling phyllo is preventing it from becoming brittle. As soon as you unroll the delicate sheets, take out what you need and cover the rest of the stack right away. Just lay a piece of plastic wrap or parchment paper directly over the dough, followed by a slightly damp—not dripping wet—kitchen towel. This creates a humid microclimate that keeps the dough pliable while you work.
This one step removes nearly all the stress from the process. It gives you the breathing room to focus on layering and folding without feeling like you’re in a race against time.
This simple workflow visualizes the core steps for a perfect filling before you even touch the phyllo.
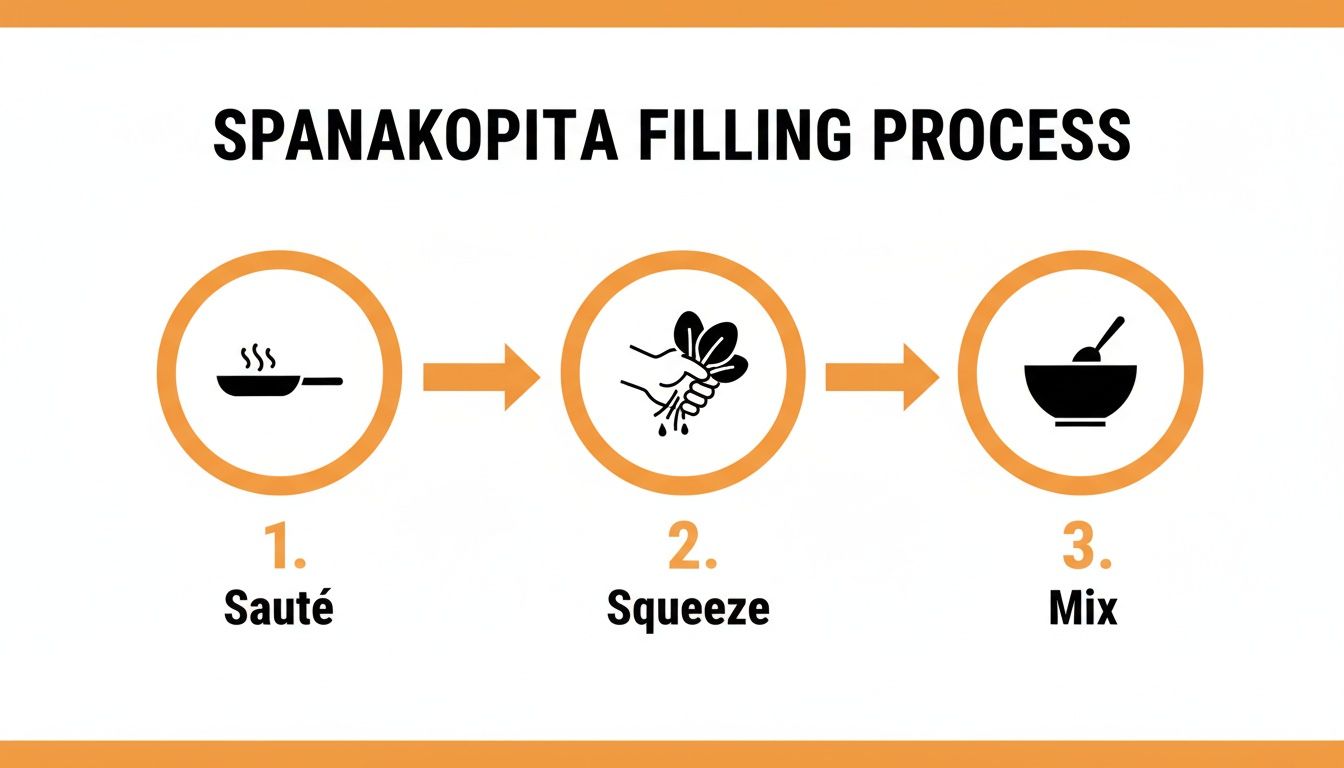
Following this sequence is my non-negotiable rule. It guarantees your spinach mixture is intensely flavorful and, most critically, dry enough to ensure a crispy result every time.
Layering and Folding for the Perfect Crunch
Whether you’re making one large pie (pita) or individual triangles (spanakopitakia), the layering principle is the same. Each delicate sheet of phyllo needs a light brushing of melted butter or olive oil. This is what essentially fries the layers in the oven, creating that incredible, flaky texture. Don't stress about perfect, edge-to-edge coverage; a quick, light brushing is all you need.
So, how many layers are ideal? It depends on what you're making.
- For triangles: Using two or three sheets per triangle strikes the perfect balance. It’s enough to securely hold the filling while delivering a light, crispy bite that doesn't feel heavy.
- For a large pie: You'll want more structural integrity. I aim for six to eight sheets for both the bottom and top crusts. This creates a sturdy base and a wonderfully flaky top.
Don't be discouraged if a sheet tears a little as you work. It happens to everyone. Once it's layered with others and brushed with butter, those little imperfections will completely disappear in the oven. The process has some similarities to working with other laminated doughs, and if you're curious, you can learn more about how to use puff pastry for different kinds of appetizers.
Track Your Technique: As you fold your first successful Spanakopita triangle, capture it. Log it in the Savor app and add a quick note about the number of phyllo layers you used. Next time you make them, you can experiment with one more or one less layer and compare the results to find your personal perfect crunch.
How to Bake, Serve, and Store Your Spanakopita
You’ve done the hard part—all that careful filling and folding is complete. Now for the grand finale. Getting that perfect, shatteringly crisp, golden-brown finish is what separates good spanakopita from an unforgettable one.
First things first, get your oven preheating to 375°F (190°C). While it comes up to temperature, arrange your beautifully folded pies on a baking sheet lined with parchment paper. This little step is a lifesaver for cleanup and ensures they don't stick. Slide them into the oven and bake for about 30-35 minutes. You’ll know they’re ready when the phyllo turns a deep, gorgeous gold.
Serving Your Greek Appetizer
Spanakopita is a born team player, truly shining as the star of a meze platter. This tradition of sharing small, vibrant plates is the soul of Greek dining. It's a way of eating that has deep, ancient roots, long before "small plates" became a trendy menu category. If you're curious, you can learn more about the ancient Greek roots of meze culture to see just how foundational this communal style of eating is.
To build an authentic meze experience around your warm spanakopita, think about balance. You want flavors and textures that complement its savory richness.
- Cool Dips: A bowl of creamy, garlicky tzatziki is the classic pairing for a reason. Its cool tang is the perfect counterpoint.
- Tangy Bites: Add some briny contrast with a small dish of marinated Kalamata olives or cubes of salty feta.
- Fresh Salads: A simple horiatiki (Greek village salad) with juicy tomatoes, crisp cucumber, and sharp red onion cuts through the richness beautifully.
Create a Memory, Not Just a Meal: When you serve your Spanakopita, take a moment to arrange the full meze platter. Snap a photo for your Savor food diary and jot down notes about what worked. Did the tangy tzatziki cut the richness perfectly? Rate the entire experience to build your personal guide for future gatherings. Rate like a critic.
Make-Ahead and Storage Tips
One of the best things about this recipe is how forgiving and flexible it is. Preparing it ahead of time is a host’s secret weapon, making entertaining so much easier.
If you want to freeze them, assemble the spanakopita completely but don't bake them. Just lay the unbaked triangles on a baking sheet and pop them in the freezer until they're frozen solid. Once firm, you can transfer them to a freezer-safe bag where they’ll keep beautifully for up to 3 months. When you're ready to bake, there's no need to thaw—just put them straight into the oven from frozen and add an extra 10-15 minutes to the baking time.
For leftovers, let them cool down completely before storing them in an airtight container in the fridge for up to three days. To bring them back to life, please, avoid the microwave—it will turn that beautiful phyllo soggy. Instead, reheat them in a 350°F (180°C) oven or a toaster oven for 10-15 minutes. They'll get hot and perfectly flaky all over again.
Spanakopita Troubleshooting & FAQs
Even a tried-and-true recipe like Spanakopita can throw a few curveballs in the kitchen. Here are answers to the most common questions so you can bake your phyllo triangles with total confidence.
Why Did My Spanakopita Turn Out Soggy?
Ah, the dreaded soggy bottom. This is, without a doubt, the number one issue people face with Spanakopita, and it almost always comes down to one culprit: moisture in the spinach.
You have to be ruthless here. Squeeze every last drop of water out of your thawed spinach. When you think you've squeezed enough, do it again. A potato ricer is a fantastic tool for this, but wrapping the spinach in a clean tea towel and wringing it out works just as well. Your hands are fine, too! Another sneaky cause of sogginess is a warm filling. Always let your sautéed spinach and onion mixture cool completely before you start assembling. Hot filling creates steam, and steam is the mortal enemy of crispy phyllo.
Can I Make This Recipe Vegan or Dairy-Free?
Yes, absolutely. And the good news is, it's a pretty straightforward swap that doesn't sacrifice the savory, herby flavor.
Here’s how to make it happen:
- For the cheese: A high-quality vegan feta is your best friend. There are some fantastic options on the market now that are briny, tangy, and crumble just like the real thing.
- For the binder: Ditch the egg and make a quick "flax egg." Just mix one tablespoon of ground flaxseed with three tablespoons of water. Let it sit for a few minutes until it gets thick and gelatinous, then stir it into your filling.
- For the phyllo: Instead of butter, just brush the layers with a good quality olive oil or your favorite melted vegan butter.
What Other Greek Appetizers Pair Well with Spanakopita?
Spanakopita is a team player. It’s a star on any meze platter, where its rich, savory flavor is the perfect counterpoint to fresh, tangy, and briny bites. A well-balanced spread is the whole point of the Greek meze experience.
Dips and spreads are a huge part of this. In fact, consumer preference surveys show that dairy- and legume-based dips like tzatziki and fava appear in roughly 40–60% of commercial Greek meze combinations. You can find more insights on popular Greek appetizers over at AlekasGetTogether.com. For a fantastic spread, I love serving warm Spanakopita with a bowl of cool, creamy Tzatziki and maybe a zesty Tyrokafteri (spicy feta dip). Add some marinated olives and warm pita bread, and you're all set.
Track tastes, share discoveries: A perfect meze platter is a memory worth keeping. Snap a picture and log it in Savor. Rate how that tangy tzatziki cut through the rich Spanakopita—this is how you start building a personal food story, one delicious discovery at a time.
How Should I Store and Reheat Leftovers?
Proper storage is key to enjoying your Spanakopita the next day without losing that signature crunch. First, let the pieces cool completely. Then, store them in an airtight container in the fridge for up to three days.
The most important rule for reheating: never, ever use a microwave. It will turn that beautiful, flaky phyllo into a tough, soggy mess. The best way is to pop the leftovers in an oven or toaster oven at 350°F (175°C) for about 10-15 minutes, or until they’re heated through and crisp again. An air fryer also works wonders here, getting individual triangles perfectly crisp in just 3-5 minutes.
That perfect, flaky Spanakopita you just baked is a memory worth saving. Don't let it fade. With Savor, you can capture every dish, log your ratings, and build a private food diary that travels with you. Perfect your recipes, remember your favorite bites, and never forget a great meal again. Rate like a critic at SavorTheApp.com.
Continue Reading
Start Tracking Your Dishes Today
Transform your food photos into a searchable, ratable culinary memory bank.
Download Savor App